Stratodesk NoTouch Center Available on Azure Market Place, meaning our customers can now deploy NoTouch Center in the cloud with only a few clicks of the mouse.atodesk NoTouch Center Available on Azure Market Place, meaning our customers can now deploy NoTouch Center in the cloud with only a few clicks of the mouse.
- The guide below will walk you through the deployment process.
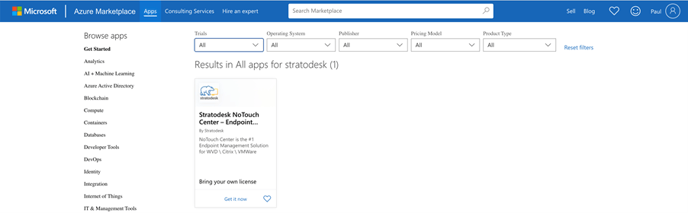
The first step is to browse to the Azure Marketplace using the following url https://azuremarketplace.microsoft.com/en-us/marketplace/ and then using the search function, search Stratodesk.
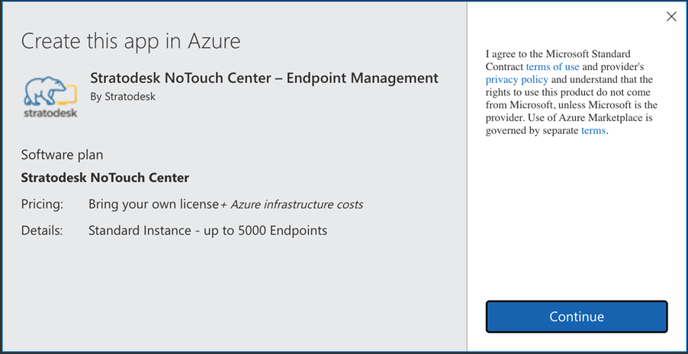
Next click ‘Get it Now’ and on the next screen click ‘Continue’
On the next screen, we have two deployment options. You can select ‘Create’ which allows you to customize the deployment options, or ‘Start with a pre-set configuration’
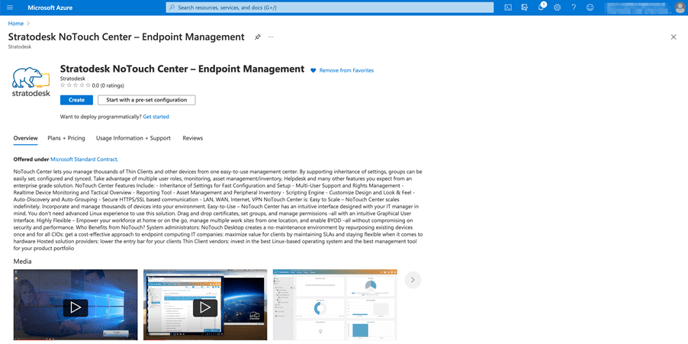
In this guide we will be using the ‘Create’ option.
Basics – We have highlighted the options that need to be configured.
** As indicated in image below please ensure to select Authentication type PASSWORD not SSH. The Username is notouchadm - which is critical for the functionality of the NoTouch Virtual Appliance **
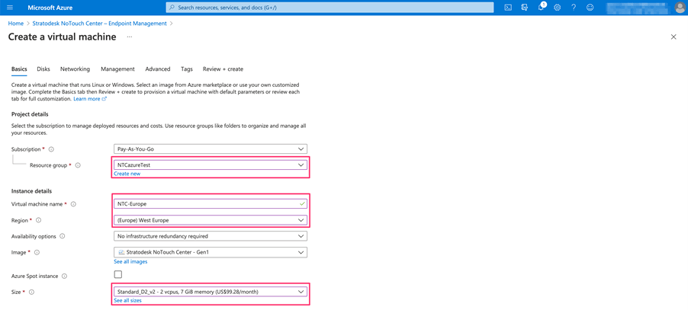

Click next to proceed.
- Disks – Standard HDDs can be used here rather than SSD’s
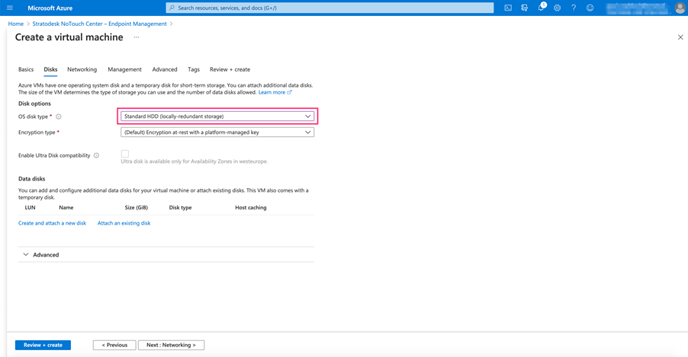
Click next to proceed.
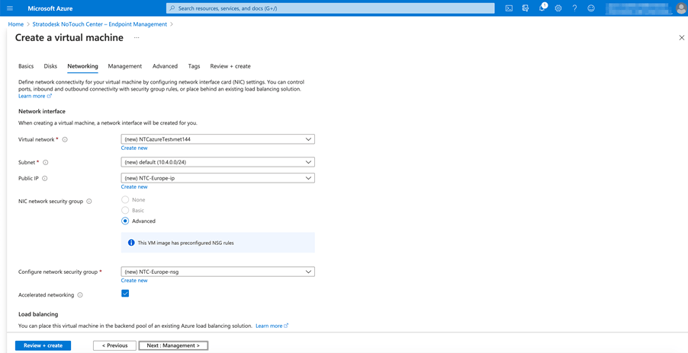
- Networking – In the example below we have chosen to keep the default settings, but of course these can be changed but please be aware that NoTouch center will need a public IP address.
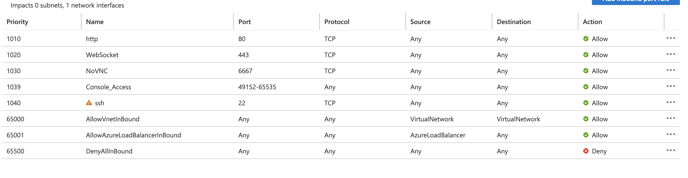
- Here is what the Networking port rules should look like
Click next to processed.
- Management – Again the default settings are being used.
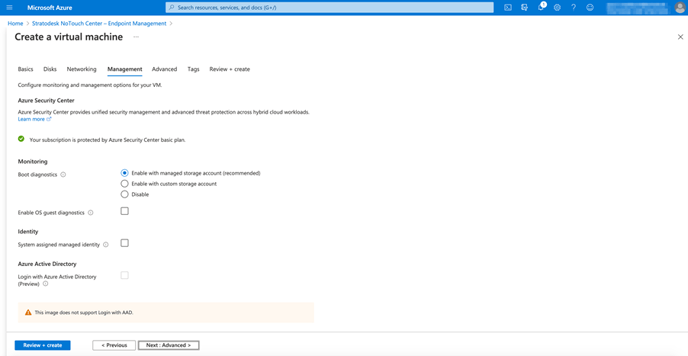
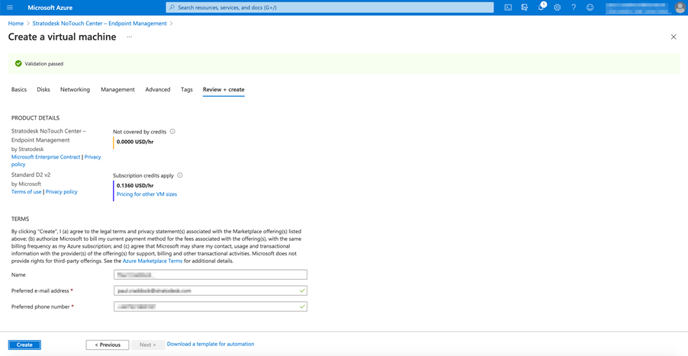
At this point, unless you wish to add any advanced settings or tags, you can select the ‘Review + create’ option.
Azure will then validate the configuration, and if the validation shows as passed, you can then click ‘Create’
The deployment of the virtual machine will start and should only take a few minutes to complete.
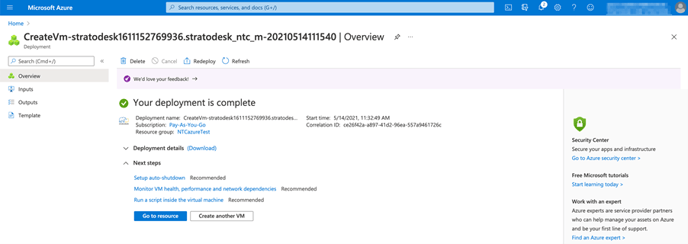
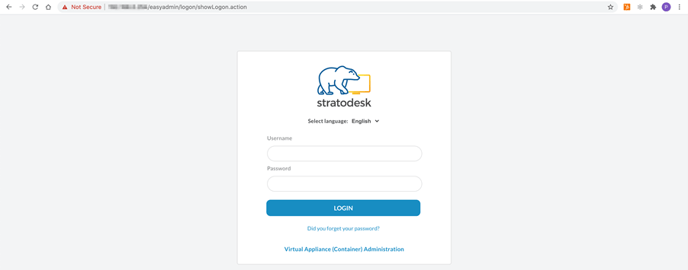
You should then be to connect to your NoTouch Center deployment using its public IP address and begin managing you NoTouch endpoints.
To login use the username ‘admin’ & password ‘admin’ which are the default settings.
IMPORTANT INFORMATION
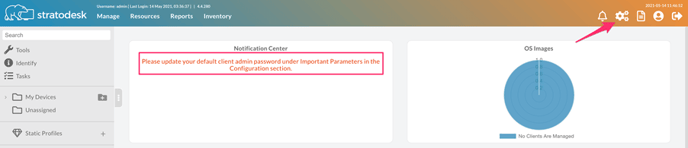
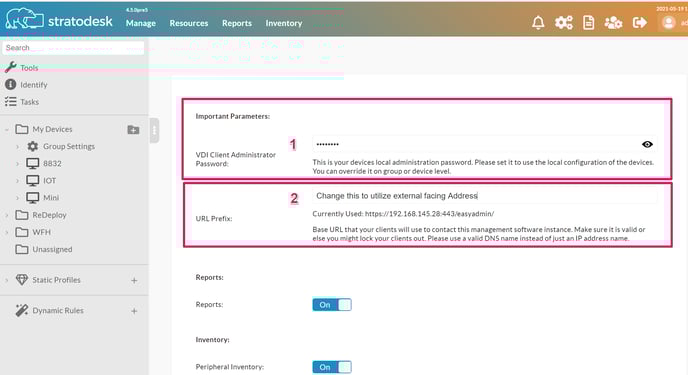
Once you have logged in for the first time, you will notice a warning message on the dashboard asking that you reset the administrator password. Either click the warning message or the advanced settings to take you to the important parameters.
You will also find that your instance as noted when configuring the Networking, Has TWO interfaces.
- The Public Interface - You use to connect via the web interface
- The Private Interface - Used by the VM - This is the Interface used for Licensing It is likely a 10.X.X.X address, This will be used in conjunction with your Transfer code to collect the license file
Next - update to a secure password (1) Then change the URL Prefix (2) to use the external interface of the appliance from your Azure network settings & click save.
Remember to change the Admin password as this is a template, failure to do so will leave your instance with the default credentials of the template
Please also change the Password on the Appliance configuration panel via //VitualApplianceIP/va-admin - Password or //VirtualApplianceIP/vapasswd.php</span
Once these steps are complete you can begin to manage your NoTouch endpoints in Microsoft Azure.