The Stratodesk Virtual Appliance is ready to be deployed to Citrix XenServer (next to other Hypervisors such as VMware vSphare, VMware ESX and also Microsoft Hyper-V).
If you intend to install on XenServer, please follow these instructions.
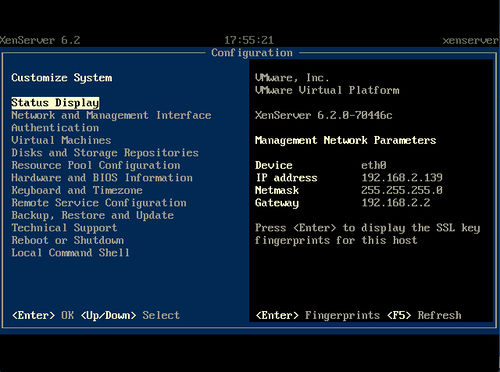
We assume you have a XenServer running like the one pictured below:
Deploy the OVA to XenServer
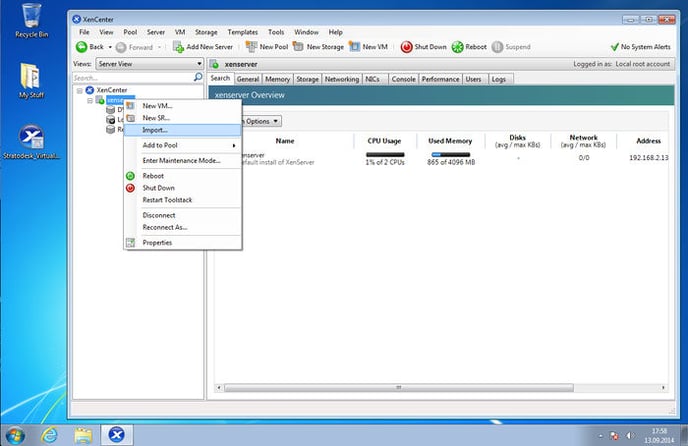
You use XenCenter on a Windows machine to administer your XenServer. This is where the Stratodesk OVA file has to be copied.
Right-click on the specific server in your XenCenter, and choose "Import".
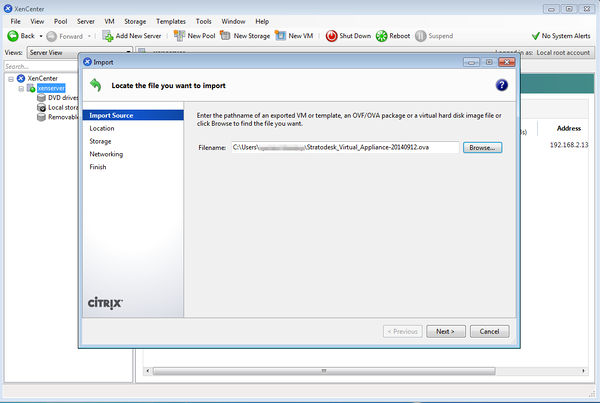
Now select the location of the Stratodesk OVA file and click "Next":
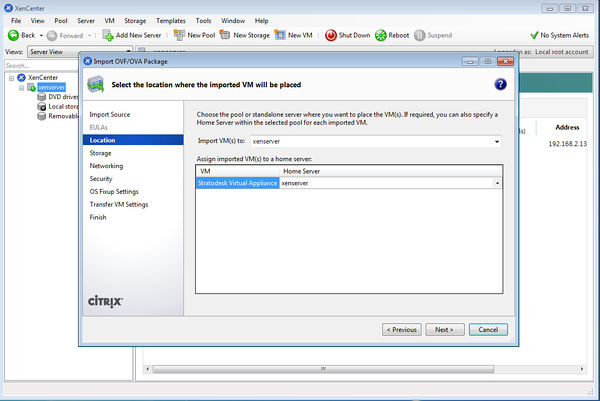
Click Next or change whatever is necessary for your installation.
Click Next or change whatever is necessary for your installation.
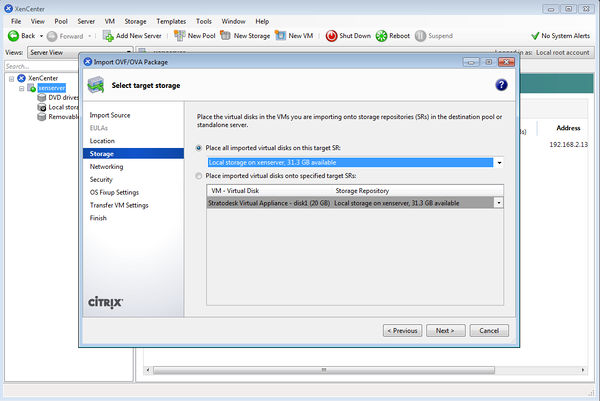
Click Next or change whatever is necessary for your installation.
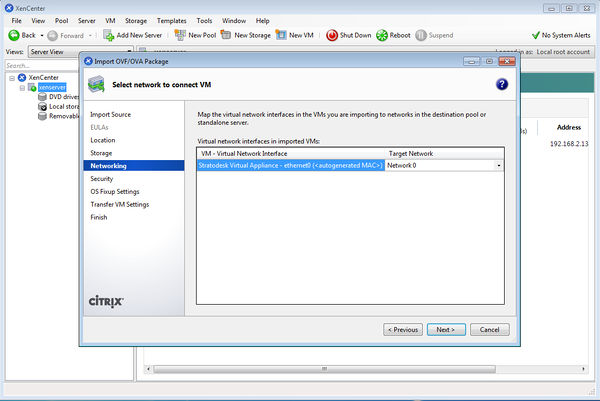
Click Next or change whatever is necessary for your installation.
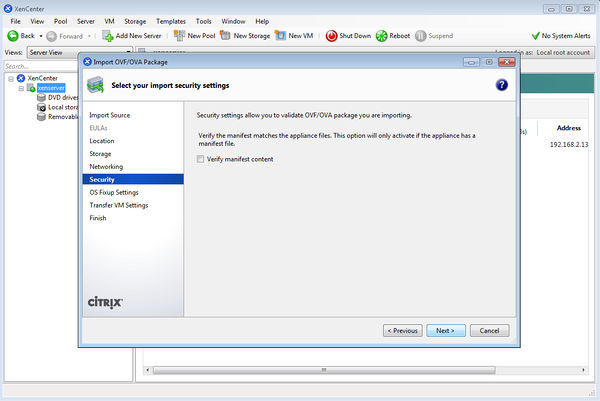
Click Next or change whatever is necessary for your installation.
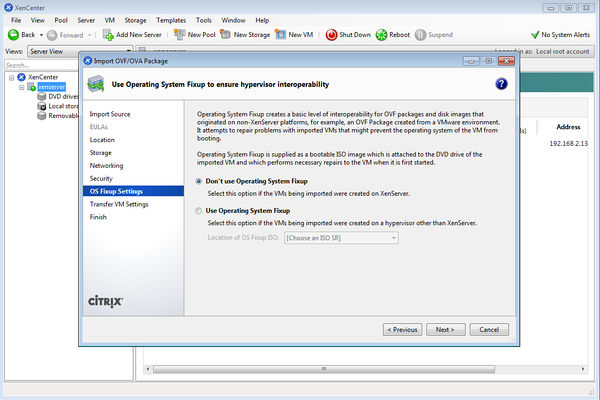
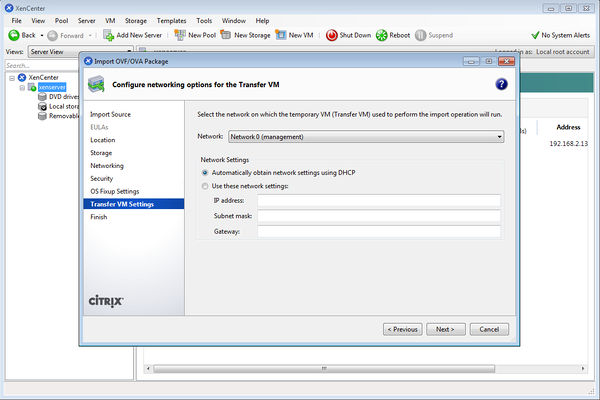
Click Next or change whatever is necessary for your installation. Even if you intend to assign a static IP address, go with the default values here.
Click "Finish".
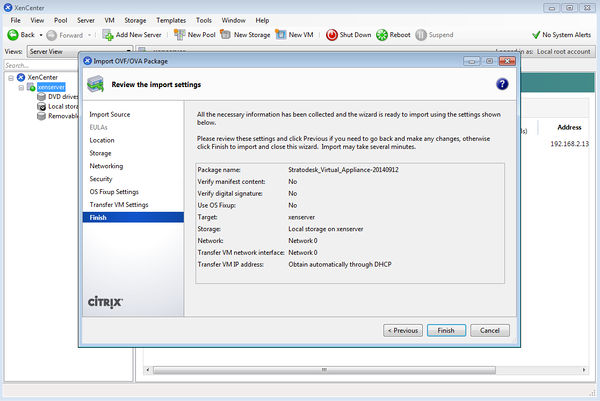
The following import process will take some time, probably several minutes.
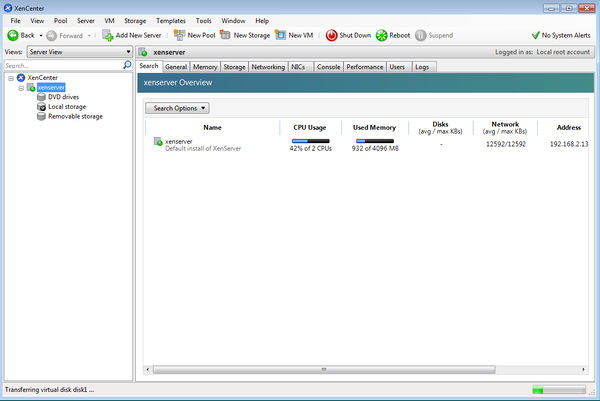
After the process is finished, the new Stratodesk Virtual Appliance instance will appear below your server icon, among all other virtual machines on this server.
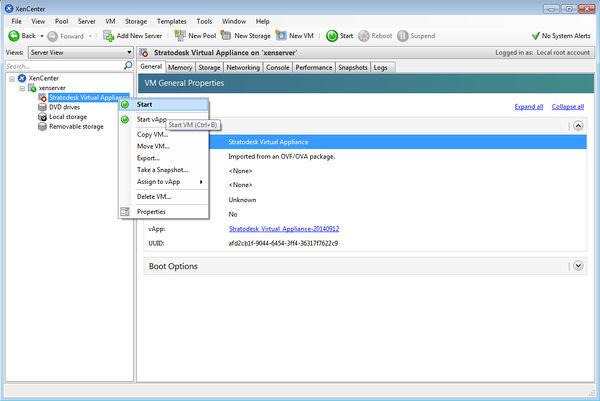
Right-click it, and click on "Start"
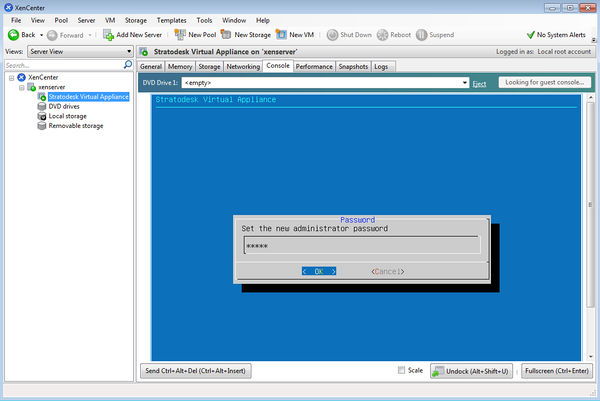
Then click on "Console" and wait until Stratodesk Virtual Appliance has booted up. Since it is a first-time boot, you need to enter your desired administration password. To verify you typed it correctly, you need will be asked to reenter it right after.
Great. Now Stratodesk Virtual Appliance will display it's console screen:
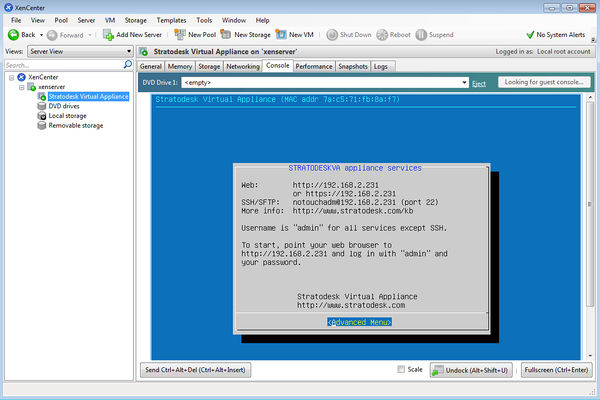
Basically you are all set now, unless you want to change the IP address of the system (see below). If you are happy with the network settings, use a web browser to connect to Stratodesk Virtual Appliance as indicated on the console screen.
Assign a static IP address
Most likely you will want to assign a very specific static IP address and other network configuration to the Stratodesk Virtual Appliance. After all, it's a server system.
To make this happen:
- Start your XenCenter
- Connect to the server where the system is running
- Click on the Stratodesk Virtual Appliance instance
- Click on the "Console" tab, click into the Console area
- Hit "Enter" to select "Advanced Menu" from the textual configuration application
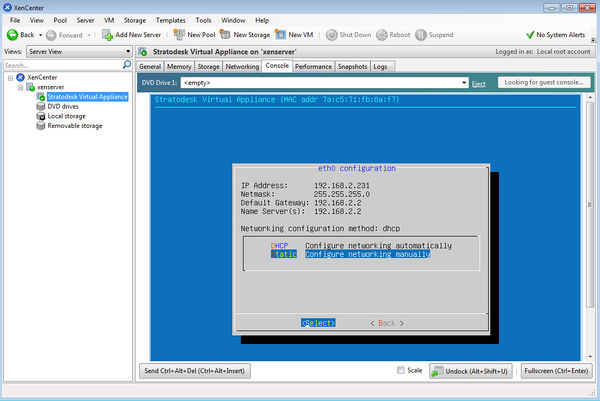
Use cursor and Enter keys to enter the network configuration. Set whatever kind of configuration you want to set.
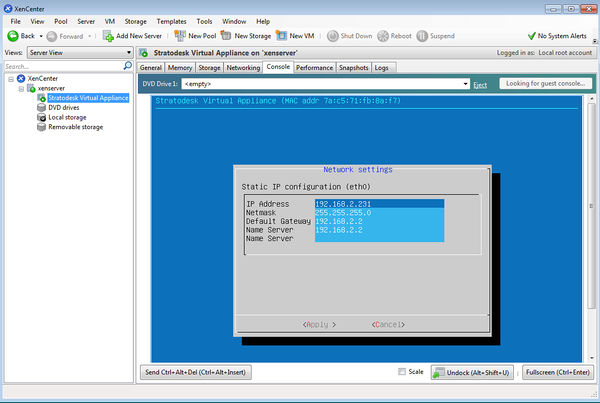
When done, move the cursor on "Apply" and hit "Enter". Navigate out until you see the regular Stratodesk Virtual Appliance screen.