Configure Microsoft AVD connection locally in NoTouch OS
The steps below will walk you through creating a AVD connection locally in NoTouch OS when not using NoTouch Center
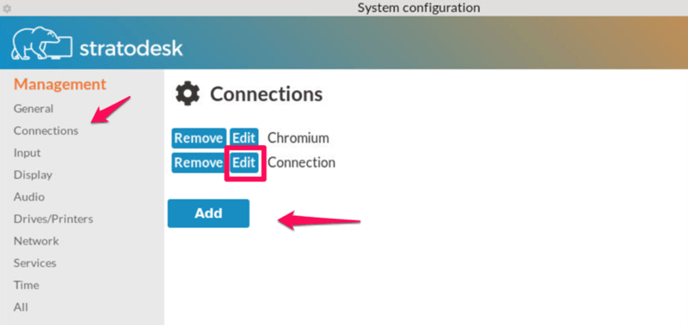
Select Start (Polar Bear) \ Configuration Enter the appropriate administrator password Select Connections \ Add Select Edit on the newly created Connection
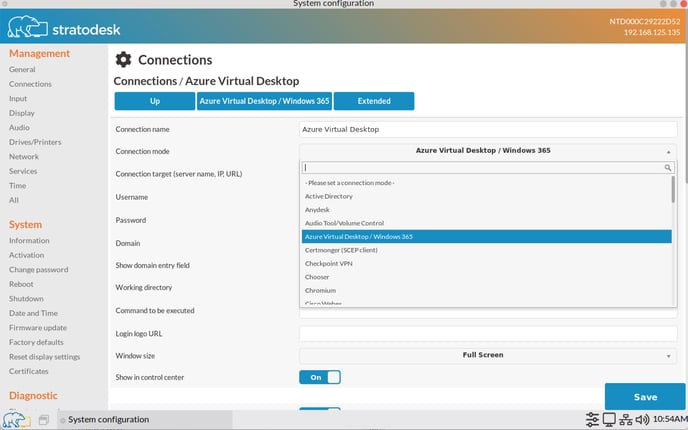
In the Edit Connections dialogue Name the connection per your needs, In this case we use Azure Virtual Desktop, Select the Connection Mode drop down, and select Azure Virtual Desktop / Windows 365
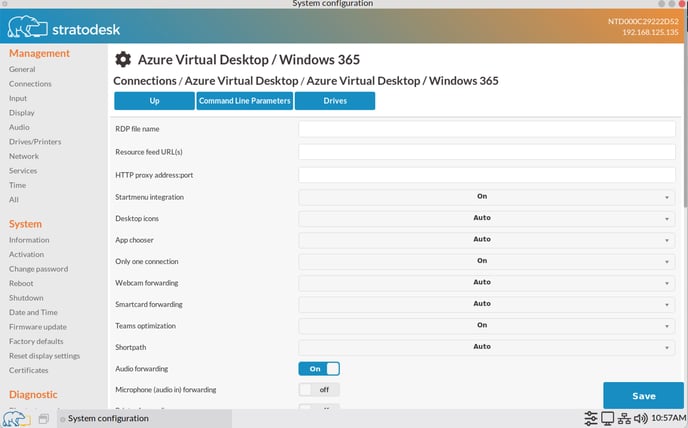
You then have the option of configuring the Azure Virtual Desktop specific parameters, by selecting the 'Azure Virtual Desktop' tab
 Detailed Azure Virtual Desktop client configuration can be found on the here
Once the configuration is complete, select Save and Close the System Configuration dialogue
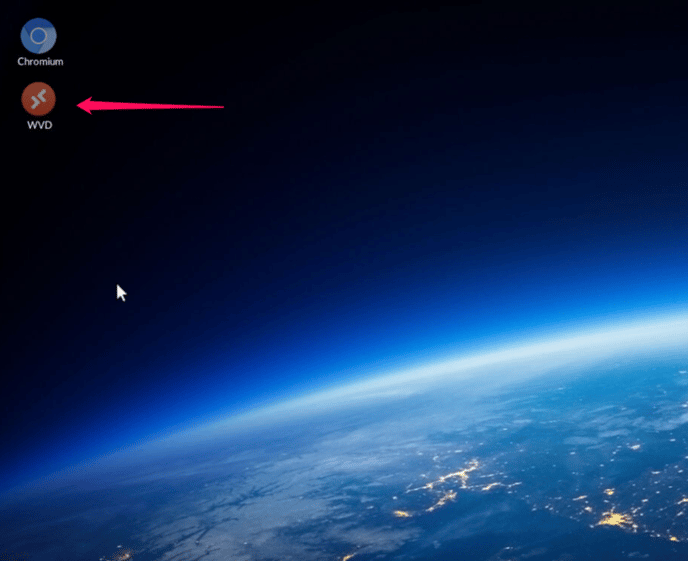
You should now see your newly created AVD connection on the desktop